UKarbon
Preface
In 2013, Tom and I were sharing a student apartment in Bournemouth both in our third year of university.
I was studying Industrial Design which required me to spend my third year on placement, getting some real world experience in your chosen industry/discipline.
We were encouraged to pick a role from a list of pre-defined companies that had agreed to work with placement year students in the local area, and I settled on a local, outdoor furniture supply company, Cozy Bay. They had a warehouse and office based just outside of Poole.
At Cozy Bay my role was primarily graphic design, handling things like photography, marketing graphics etc, and also a little bit of this things called "Magento" (I believe this has since been acquired by Adobe).
Magento served an online store for customers of the company to purchase various pieces of outdoor furniture and I became the person responsible for handling that. At the time, I wasn't really aware of e-commerce platforms but dove in head-first on this one to understand the fundamentals of selling things online.
Dbrand
At the same time, Tom and I both came across a Canadian company called "Dbrand". They had a very unique marketing approach and sold really beautiful skins for mobile phones, laptops etc.
We had both ordered a skin for our phones (I can't actually remember what my phone was at the time, I think perhaps an LG G2) and they had taken 3 weeks to arrive. The cost of the skins seemed quite high for what we thought was just a sticker and the postage from the US was also not pretty. Particularly for the skins for a Laptop, which were larger than a regular letter.
When the skins arrived, I remember being surprised at the quality of the material and the precision with this the skins had been manufactured. The marketing material in the package was also nice and clean, with some useful accessories bundled in too (cleaning cloths and wipes mostly, to aid with application).
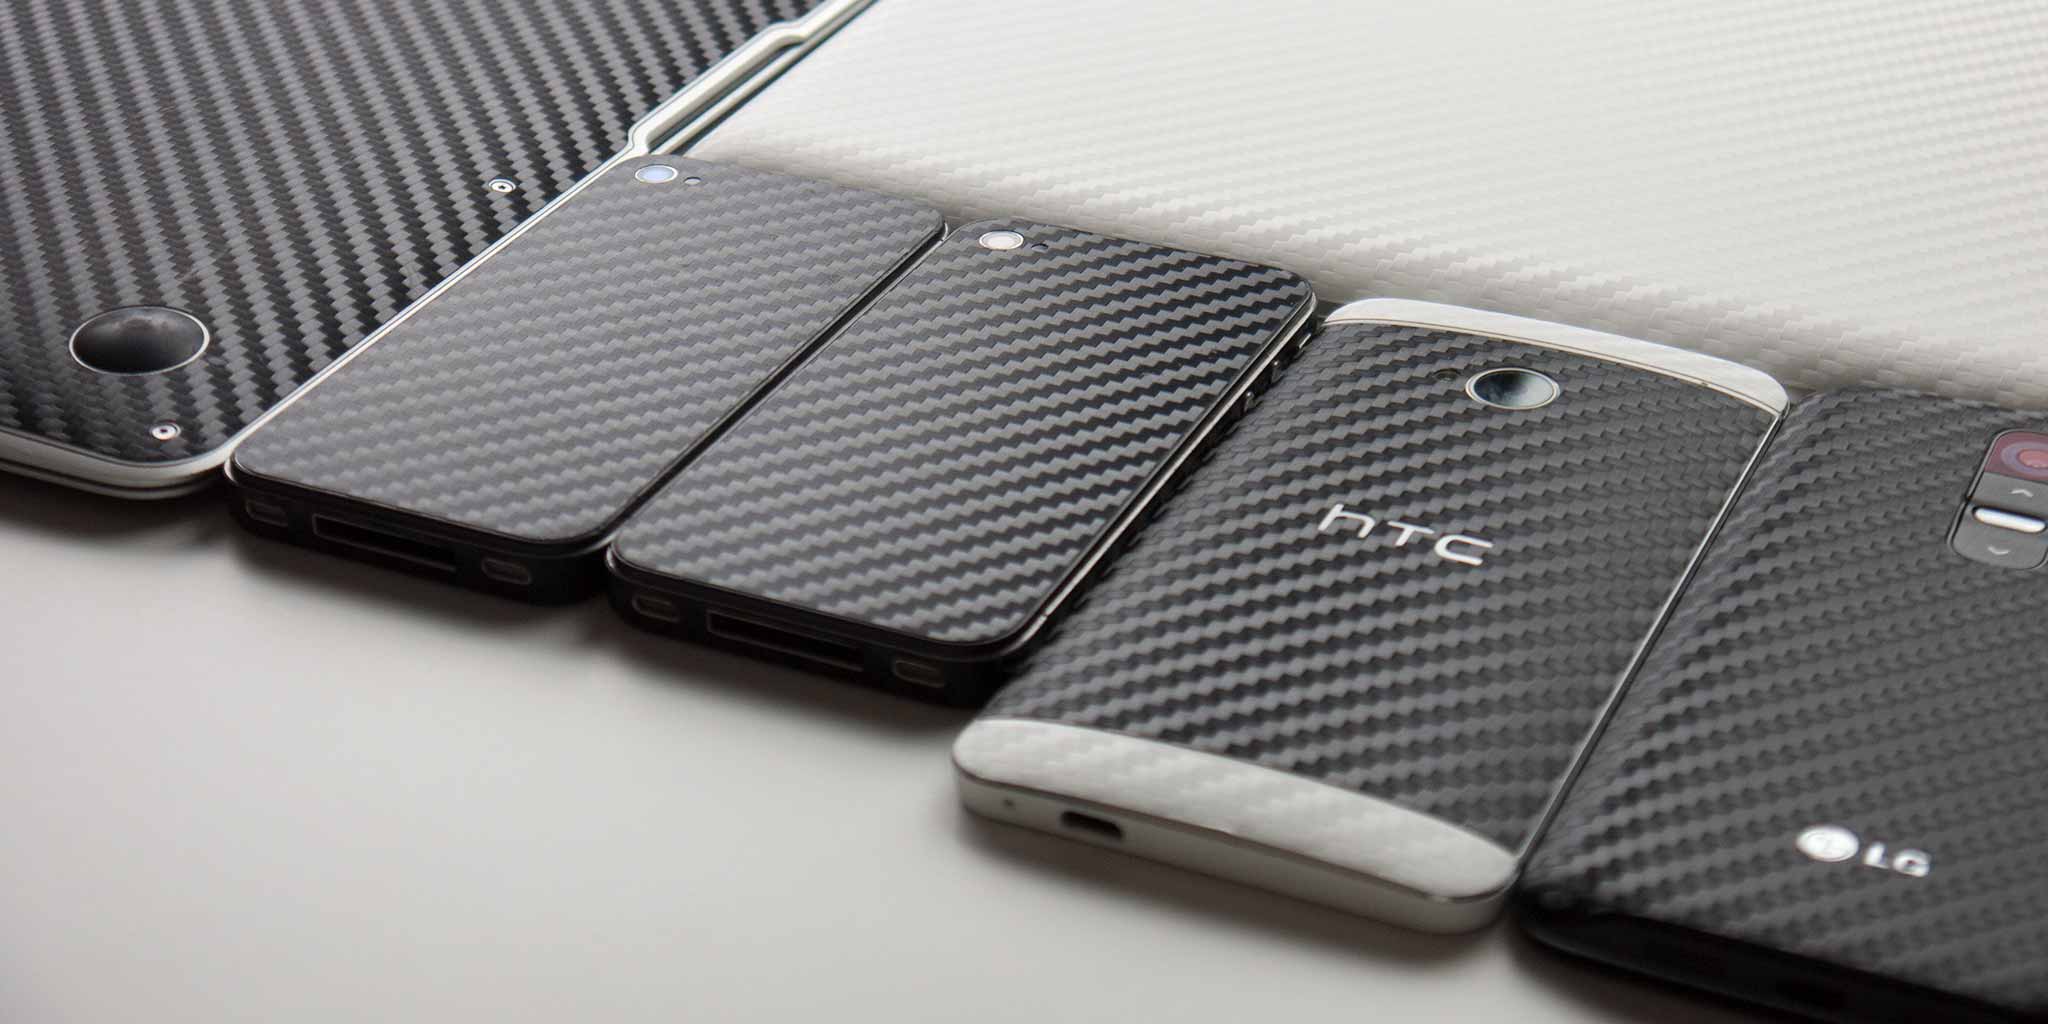
The skin itself was cool. It was a mock carbon fiber texture that seemed to have been made by a company called "3M". Not sure I'd heard of it, perhaps I'd seen it on the inside of a roll of tape.
How hard could it be to do this ourselves? It was just a sticker after all and with that supposed mark-up? Surely the cost was minimal.
So we decided to give it a crack, and bought ourselves a plotter, or vinyl cutter.
To this day, I can't remember the make or model, but we named it "Kenneth".
Kenneth
Kenneth was a 2 axis, roll-fed, trailing blade vinyl cutter.
We plugged it into a socket in our living room in our apartment and started working out how to connect it to my computer. The drivers were readily available and as it turns out, there was even a plugin for Adobe Illustrator, which meant we could create a design in Illustrator and then send it directly to the printing software, where we would define things like material thickness and cutting force etc.
We needed some media to cut, so we bought what we thought was some nice looking carbon-fiber vinyl from eBay. It arrived a few days later and we immediately realised 2 things.
- Image on eBay are full of lies
- The material that Dbrand used was magnitudes better than this one.
No bother, the objective here was to make a prototype and see if indeed, we could do this at home.
Our first skin
So what to cut first?
I believe at the time, Tom had an iPhone 4. That particular generation of iPhone had many flat surfaces which seemed like a good place to start.
I opened up Illustrator and began drawing. I had a 30cm metal ruler which we used to roughly measure the lengths of the sides and drew out a rough shape of the back of the phone. With a small cutout for the camera.
The Illustrator plugin spat out the plan and the printing software asked us for a pressure and we had no idea, so we put in 100.
We loaded the small roll of cheap carbon vinyl, normalised the cutting head and set it printing.
20 seconds later, it was done. Apparently, there was a skin in the seemingly untouched carbon material that now sat falling out the front of the machine.
If you looked closely, you could just about make out the outline of the iPhone skin, but we couldn't remove it from the roll no matter how hard we tried.
Must not have set the cutting pressure high enough. Let's try again. This time 300.
The cutter finished again and I assumed that 300 must have been too strong and that it would have either damaged the blade or cut all the way through the material (not what we wanted. The idea is to cut through the vinyl, but not the backing paper).
To my surprise, we had exactly the same problem. 300 didn't seem any different from 100.
After some brief consultation of the plotter manual, it turns out that the cutting pressure for this particular device, is not part of the G-Code sent from the computer, it's a setting on the plotter's tiny UI instead. I had a look at it was set to something like 30.
So, I turned it up to 100 in the plotter, and re-submitted the job and lo and behold, the blade pushed harder and what came out was a piece of carbon vinyl that could be separated from the backing sheet!
Our first skin.
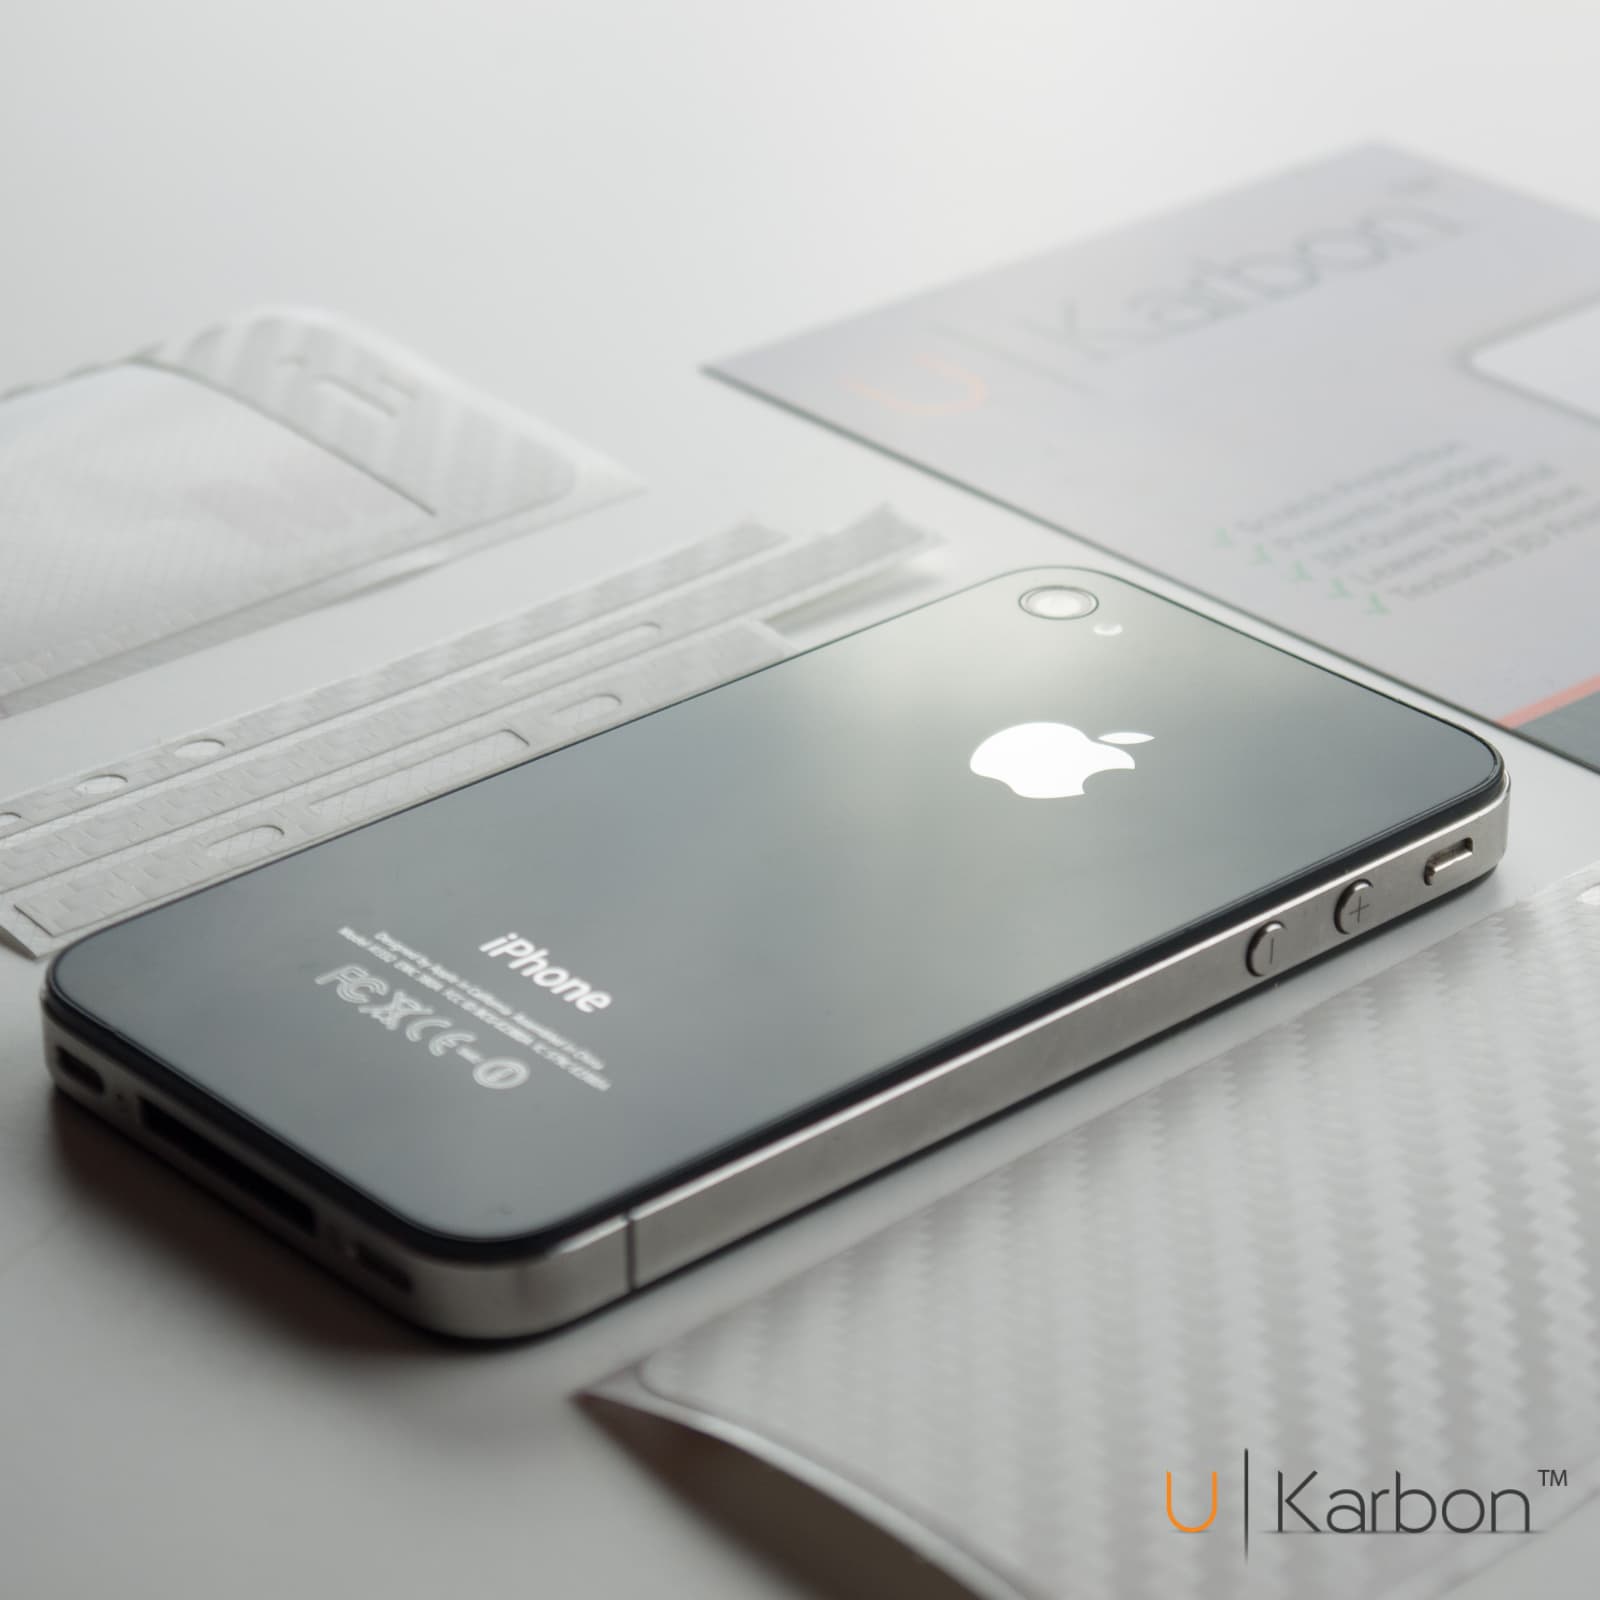
Turns out using a ruler and guessing at border radii are not the way to make the perfect skin.
What could possibly be better than a ruler?
Flatbed scanner
In a dusty corner of the storage room in our apartment was an A4-size flatbed scanner.
I thought perhaps I could take a phone like the iPhone 4, place it on the scanner and scan it, and but perhaps it might render the scanned image at one-to-one, which I could then trace in illustrator to create a more precise template.
So that's what we did. We used the scanner at something like 1200 dpi, imported the image into Illustrator, and then used the pen tool to create a path around the phone.
At the time I didn't really appreciate that the image from a scanner is one-to-one, but this turned out to be a huge discovery and improvement to how we measured phones precisely to create accurate skin designs.
We next bought some spools of real vinyl. And when I say real vinyl, I mean better than the cheap eBay stuff. And we targeted the same material that was used by Dbrand. The material used by Dbrand is something called 3M Di-noc, which is a PVC vinyl used primarily for architectural applications. People use large reams of this stuff to enhance the look of a wall or surface. The range they offered was quite broad from carbon fiber to metallic surfaces to wood surfaces to orange peel texture to concrete, etc.
Marketing - Website & Photography
After having built a dozen or so skins with the new Di-noc and started to master how to get the right pressure, how to build the templates properly, how to store the templates, nuances of the orientation at which you printed something giving a skew to the result, all of these little discoveries. We started to get into the groove of producing what we thought were quite good skins and a bunch of our close friends now became informal brand ambassadors.
But this needed a surface, we needed somewhere we could sell these skins, get people interested and start to build a brand around us building these things here in the UK.
Having built websites in the past with HTML and CSS and a little bit of JavaScript, although I think at the time I was more confident in jQuery, I decided that I'd start building the website and we settled on the ever popular e-commerce platform, Shopify.
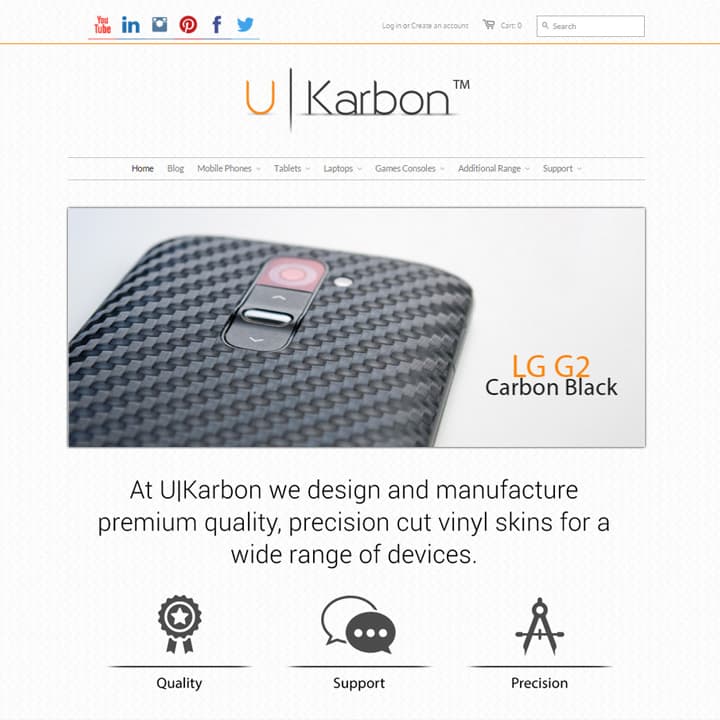
We started out small just listing the iPhone skins. I think we had the iPhone 4 and the 4S skins on the website, and we offered it in black and white carbon. The objective was just to learn how to create a presence online and create a mechanism by which we could sell these skins to people, which obviously then led into us needing to photograph the products themselves.
I had an old Lumix camera and a tripod from a hobby in photography, and we ended up creating a little photo studio in our living room with a light box and started to take some photographs of the skins on phones.
We placed these images on the website and before we knew it we had an online store with listings, payment options, and a very small catalog that we were proud of.
Companies House
Naturally the next step when you have big ambitions and you believe that you're about to take over the world is to set up a limited company in the UK /s.
This obviously isn't the right next step, but we had contacts who were encouraging and said this would be something they could help with. So we dove in and built our brand and registered our company with Companies House.
I was now officially a director of a limited company.
The next objective was to try and scale, and our scaling could come in two forms.
- Our ability to produce more skins faster.
- our range of devices we supported.
We'd initially focused on the iPhone 4 and 4S at the time because those are the devices we had to hand, but we needed a way to get our hands on a wider range of devices without purchasing the devices outright from manufacturers.
Clove Technology
A very generous company based in Poole reached out and offered to help us out with this predicament.
They were a company that supplied mobile phones to businesses and individuals and had a very large inventory and stock of devices.
They were generous enough to let us borrow a couple of devices at a time in order to build templates, prototype the skins, apply the skins, and then take photographs of them so that we could add this new model or device to our catalogue.
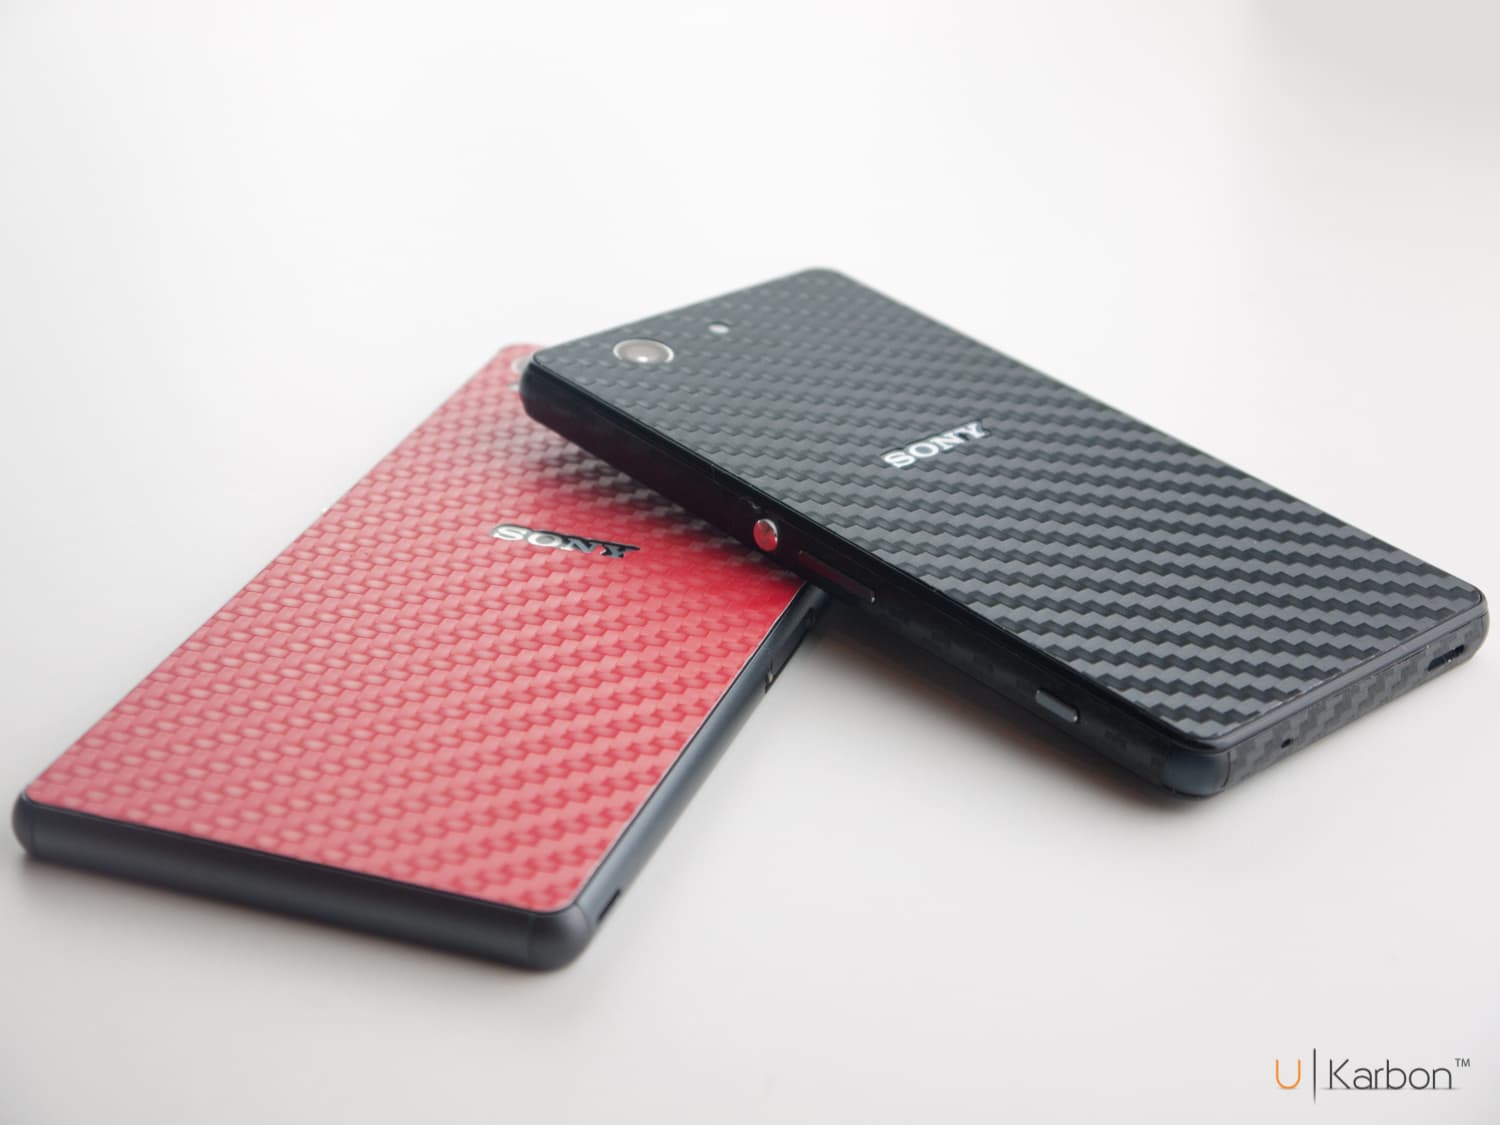
We would then return the device back to them, hopefully without any scratches. 😬
This relationship grew to us doing co-promotions with them where they would advertise our products and we would supply them with skins that would be bundled with products they would send to their customers.
To this day I'm still very grateful for the team at Clove Technology for trusting in us and being open to working with such a small enterprise.
Skin Configurator
My eagerness to add technology to this business became too much to bear and I decided that a configurator on the website would be a really logical and simple next step.
The goal here was to allow the user to choose the device that they had and then pick a different color skin for the front, the back, the sides, whatever elements of the device could be considered different components.
I built this using jQuery and with the help of Shopify allowing you to add your own HTML code to parts of your website, I tested and implemented this configurator capability.
With a little bit of Photoshop and photography skills, we were able to create quite an interactive experience, and the result of that experience would add parameters to the order of a custom skin, which would then feed through to our backend in Shopify and allow us to construct the correct skin with the correct colors for our customers.
This had a lot of complexity to our workflow and pipeline, but ultimately we became quite efficient at creating stock and had a backlog of various components and pieces for each device.
The Gadget Show
Tom, being the brilliant salesman that he was, suggested that we go to a trade show.
We'd always been a fan of a TV show called The Gadget Show with some famous faces on the front. They would always advertise pieces of technology and new and upcoming businesses and ideas. And it was an inspiring show and concept generally.
We applied for a stand at The Gadget Show in 2015 I believe.
We had some posters printed, we stocked up on a lot of skin components and prepared some videos to showcase how to apply the skins that we could then present on a monitor on our stand.
Kenneth came with us to the trade show but stayed in the apartment we were staying at in Birmingham nearby, and the night before the first day of the trade show we spent printing out lots and lots of various skin components and making sure that we were well stocked in the assumption that perhaps people wouldn't buy that much, but this would last us the whole trade show.
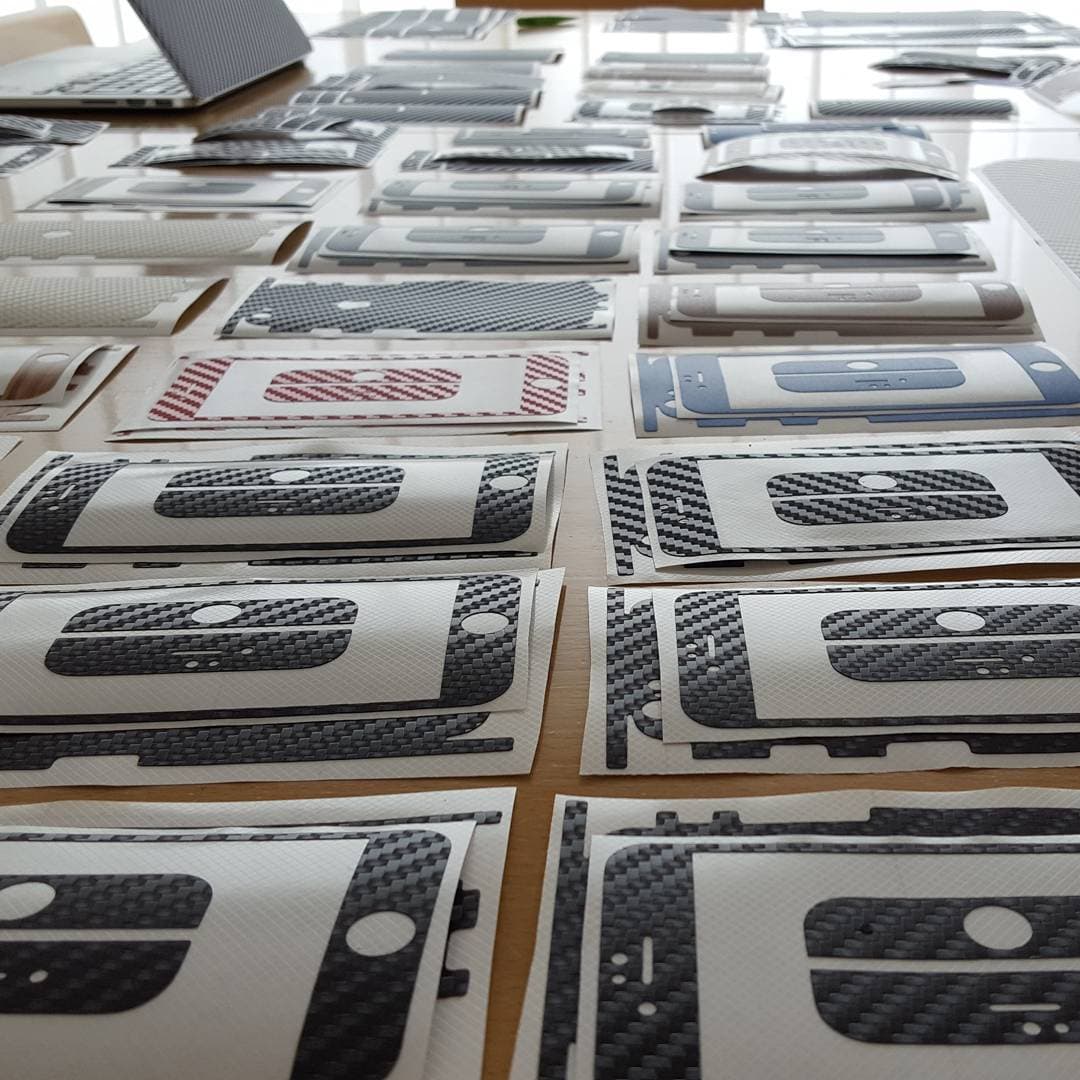
It was lucky we brought the plotter with us because by the end of the first day we'd run out of a lot of our stock. This was great, lots of people were interested and we sometimes had large crowds around the front of the stand.
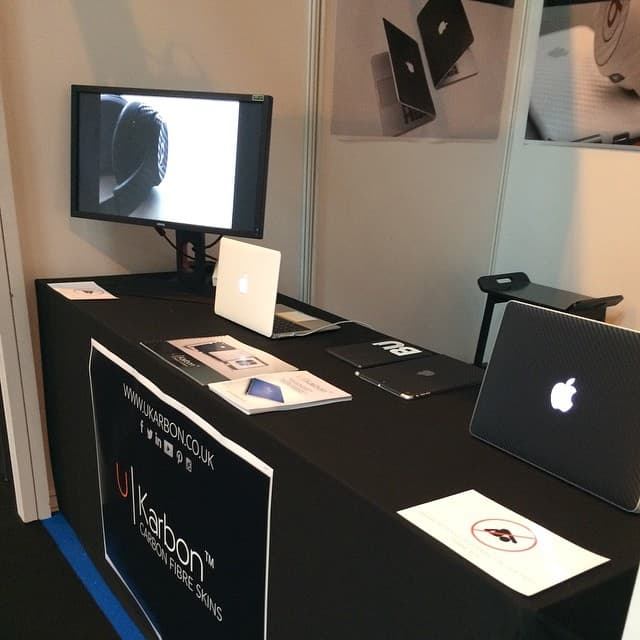
We hadn't paid for a premium stand location and I think it was probably 2m x 2m, but it happened to be on the direct route out of the large show space. So when ever an event or demonstration finished in that show space, a lot of people would leave and the first stand they would see was our stand.
Roland
As things started to scale up, we noticed that the printer that we had, Kenneth, was struggling to keep up and the blades really weren't creating the most precise cut.
There's a lot we had done to the design of our templates to compensate for the blade and the trailing cutter nature and the way in which this printer worked but really it was time to level our plotter and get a more advanced, modern and robust variant.
Graduating and Dyson
In hindsight what happened next was a difficult decision.
I had just graduated from Bournemouth University and earlier in the year, I had done a 1 month internship at Dyson, in their Imagery Team.
Dyson asked me to return, full time and offered me a full time job.
At the time, I was torn between continuing this journey as a founder and entrepreneur of sorts, but the idea of gaining real corporate experience, a good salary and the opportunity for significant learning, being surrounded by people far brighter than me won over.
Tom decided to continue running UKarbon himself as he moved to Stevenage and after a few years, he decided it was time to pack up the business.
I look back at my time building UKarbon with immense pride and joy.
The journey was wild and incredibly enlightening and I have no doubt that I will start something new again one day.
Tom has been building products and companies ever since. He is truly an entrepreneur and we remain very close friends to this day.